Welcome to my first official blog post! I figured we start out with the best sourdough loaf recipe that I use whenever baking my loaves! This is the recipe that I have used ever since I started. I had strayed away a few times but always found myself coming back to this one! I got the recipe in a starter kid by Superbaking on Amazon! Here is the most simple sourdough loaf recipe that will help you get started!
note: all links are affiliate links to support me and are at no extra charge to you!
Okay! So lets get started on making your first loaf! Below I have listed ingredients and steps along with extra tips that I have that helped me out when I first started on my sourdough journey!
Ingredients
- 540g bread flour (high protein)
- 340g warm water
- 100g active sourdough starter (fed and bubbly)
- 10g salt
- 6g sugar (optional)
Tools Needed
- Large mixing bowl
- Bench scraper
- Kitchen scale
- Proofing basket or bowl with a towel
- Dutch oven or baking stone
- Lame or sharp knife for scoring
Instructions
1. Mix the Dough (Autolyse Stage)
Start by combining the bread flour and warm water in a large mixing bowl. Stir until no dry spots remain. The dough will appear rough and shaggy, but that’s completely normal. Cover the bowl with a towel and let it rest for 30-45 minutes. This process, known as autolyse, allows the flour to fully hydrate and helps jumpstart gluten development, making the dough easier to work with later on.


2. Incorporate the Starter & Salt
After the autolyse rest, add the sourdough starter and salt to the dough. Mix everything together using a stretch-and-fold technique. To do this, grab one side of the dough, stretch it upward, and fold it over itself. Rotate the bowl and repeat this motion several times until the starter and salt are fully incorporated. The dough may feel sticky at first, but don’t worry—it will strengthen as fermentation progresses.


3. Bulk Fermentation (4-6 Hours at Room Temperature)
Cover the bowl and let the dough ferment at room temperature (70-75°F / 21-24°C). For the first two hours, perform four sets of stretch-and-folds every 30 minutes. To do this, wet your hands slightly, grab one edge of the dough, stretch it upward, and fold it over itself. Repeat on all four sides, rotating the bowl as you go. This process helps develop the dough’s strength and structure.


After the last stretch-and-fold, let the dough rest undisturbed for the remainder of the bulk fermentation time. It should become puffy and nearly double in size. Depending on the temperature of your house you may need to set it in your oven with the light on, just to provide it with extra warmth to help with the fermenting process.


4. Pre-Shape & Final Shaping
Once the dough has completed bulk fermentation, lightly flour a work surface and gently turn the dough out onto it. Pre-shape it into a loose round by tucking the edges under, then let it rest uncovered for about 20-30 minutes. This short resting period allows the gluten to relax, making shaping easier.
For the final shaping, flip the dough over and gently stretch it into a rectangle. Fold the top edge down toward the center, then fold the bottom edge up over it, like folding an envelope. Roll the dough into a tight round or oval shape, depending on your preference. Place it seam-side up into a floured proofing basket or a bowl lined with a towel.


5. Cold Proof (8-12 Hours in the Fridge)
Cover the shaped dough and transfer it to the refrigerator for an overnight proof, ideally for 8-12 hours. This slow fermentation enhances the flavor and helps improve the crust and crumb texture. The cold proof also makes the dough easier to handle and score before baking.
6. Bake the Loaf
When you’re ready to bake, preheat your oven to 475°F (245°C) with a Dutch oven inside. Let the Dutch oven heat for at least 30 minutes to ensure it’s fully preheated. Meanwhile, remove the dough from the fridge and carefully turn it onto a piece of parchment paper.
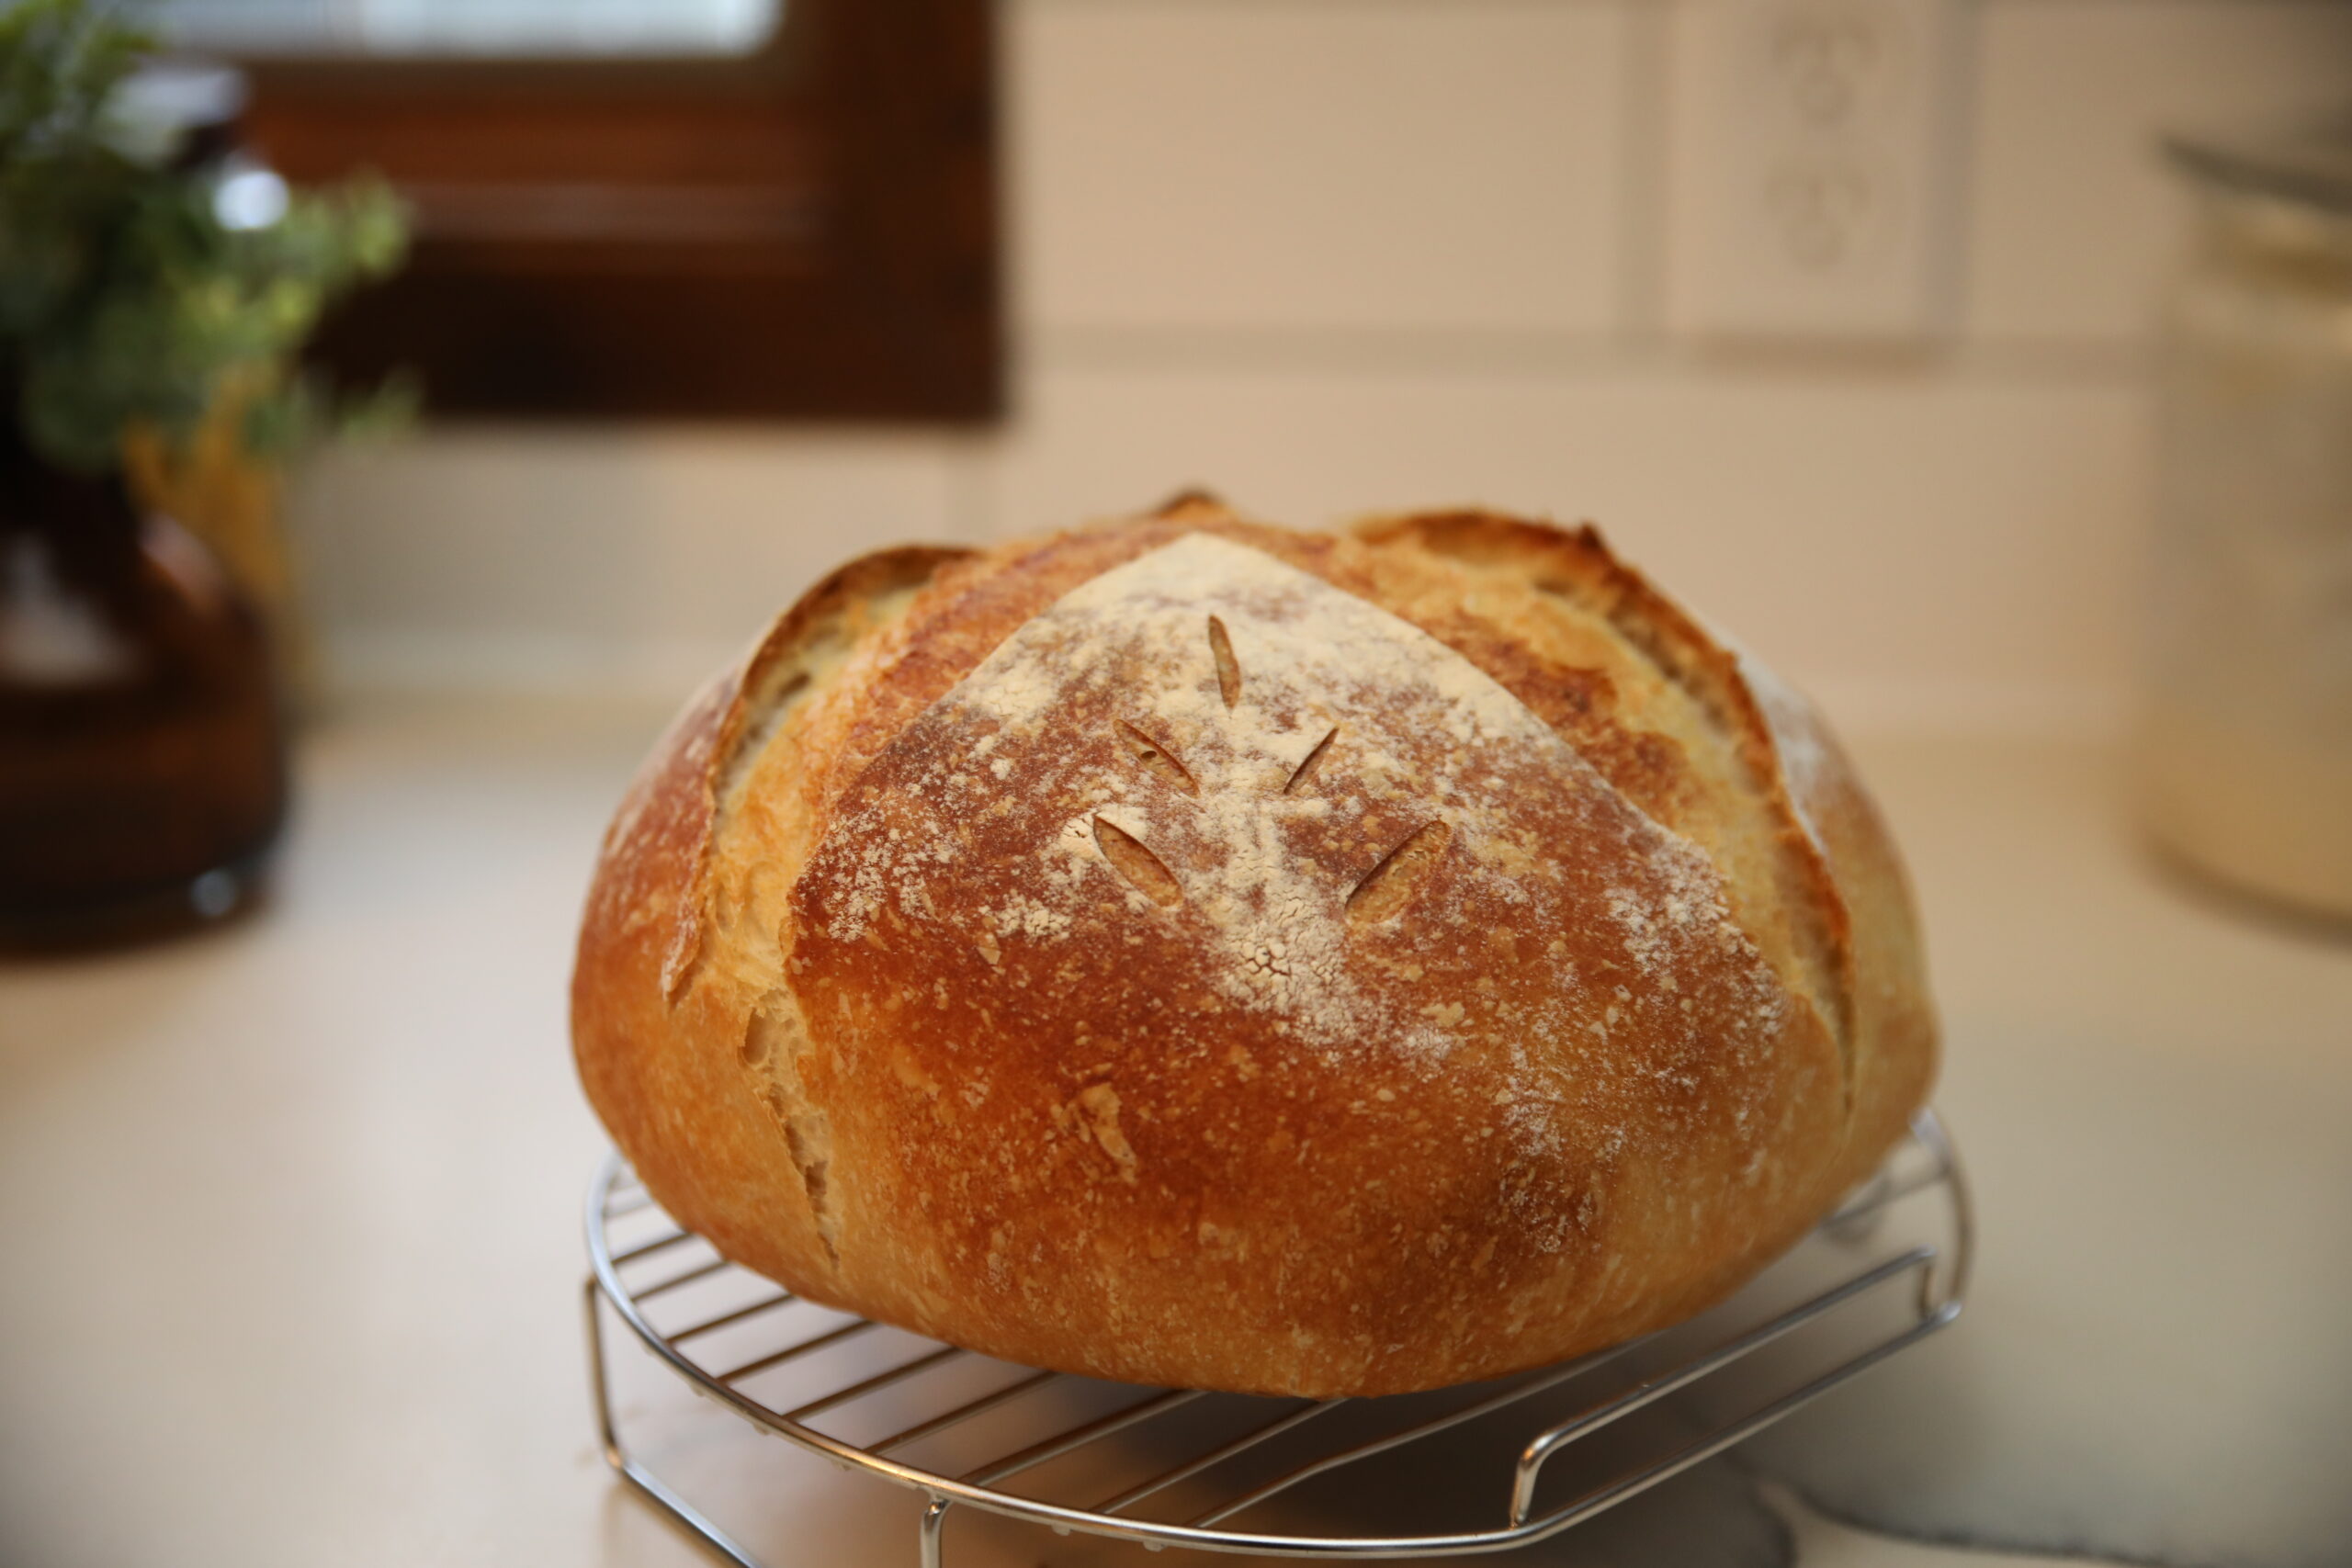
Using a lame or a sharp knife, score the top of the dough with a pattern of your choice. Scoring is essential because it allows the bread to expand properly in the oven. Carefully place the dough into the hot Dutch oven using the parchment paper as a sling. Cover and bake for 20 minutes. Then, remove the lid and continue baking for another 20-25 minutes, or until the crust turns a deep golden brown.

7. Cool & Enjoy
Once the bread is done baking, carefully remove it from the Dutch oven and transfer it to a wire rack. It’s important to let it cool completely for at least an hour before slicing. This allows the crumb to fully set and prevents a gummy texture. Once cooled, slice, serve, and enjoy your homemade sourdough bread!

Final Tips for Success
- Use a kitchen scale: Precision is key in sourdough baking, and weighing your ingredients ensures accuracy.
- Be patient with fermentation: A slow, controlled rise will yield the best flavor and texture.
- Don’t skip the cooling step: Cutting into warm bread can result in a sticky, underdeveloped crumb.
Now that you have a step-by-step guide, you’re ready to bake your first sourdough loaf. Happy baking!